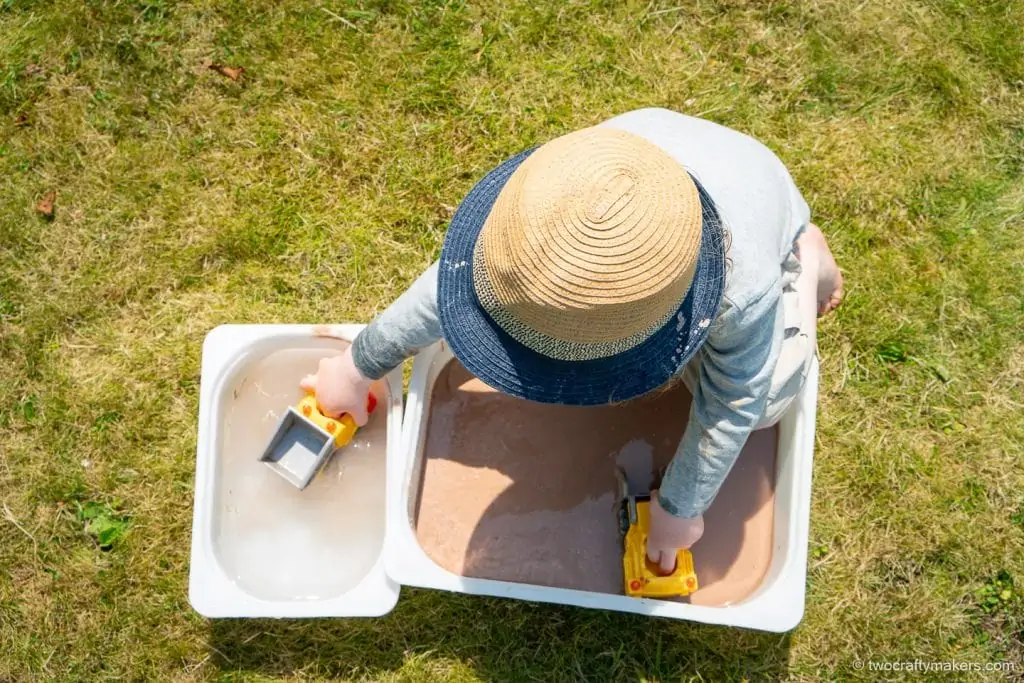
Play mud is an amazing addition to sensory play for toddlers. It’s fun, messy, taste-safe, and easy to clean up! Best of all it’s easy to make – it will take less than 10 minutes to follow our play mud recipe and whip up your first batch!
Our toddlers love incorporating play mud into construction, dinosaur, and farm-themed sensory bins and tables.
Having had hours of fun with our play mud we wanted to share our recipe for how to make play mud that is taste-safe and fun!
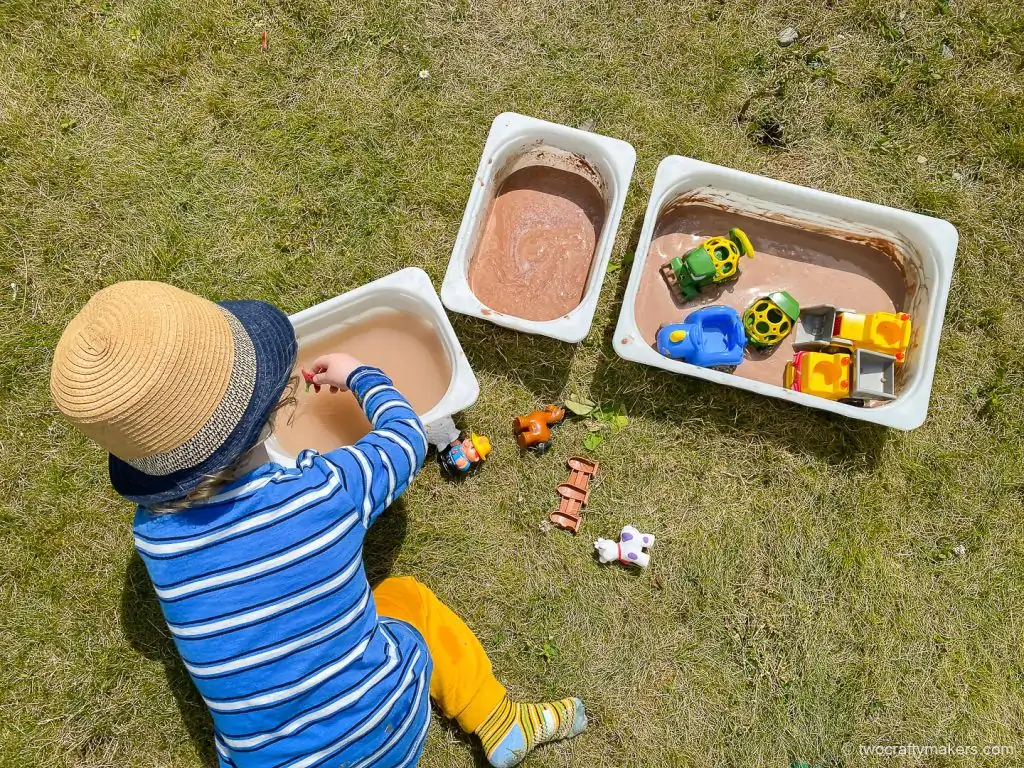
How to Make Play Mud
Play mud is incredibly easy to make. It only requires 3 ingredients and is ready in minutes!
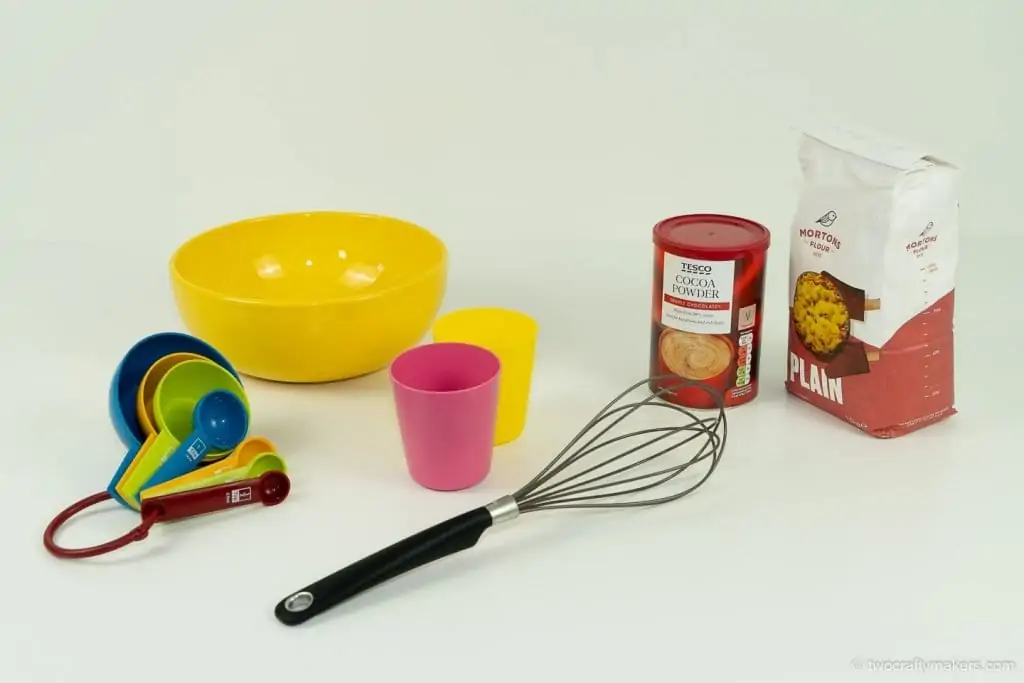
Grab a mixing bowl and pour in:
- 2 1/2 cups of flour
- 2 tablespoons of cocoa powder
- 2 cups of water
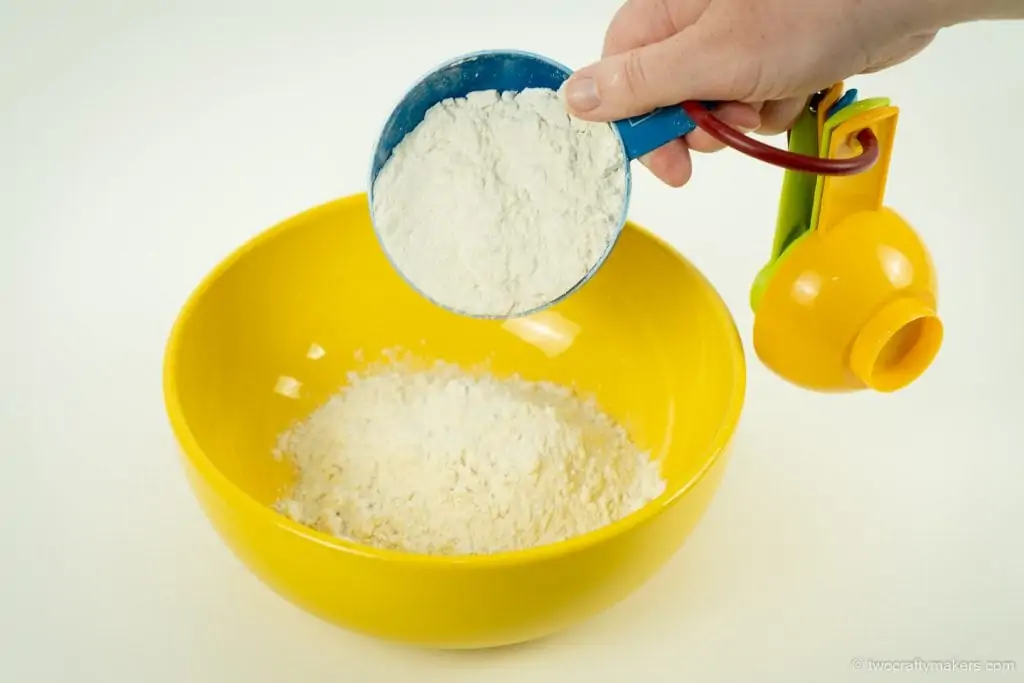
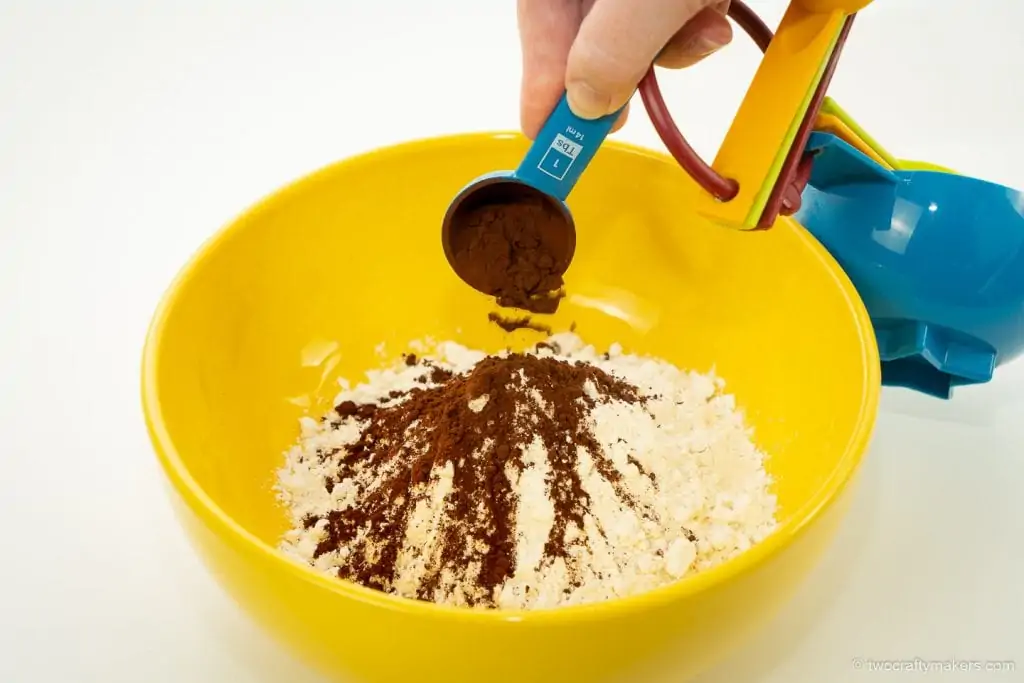
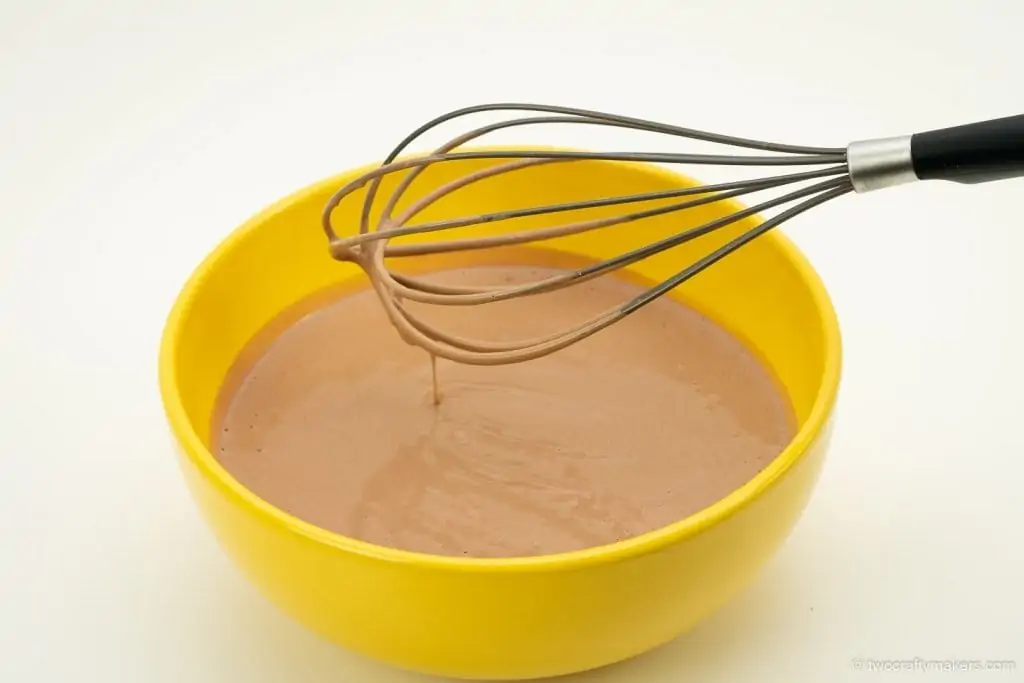
Whisk them all together and you have your play mud ready to go!
How to make play mud tip: we find using 2 1/2 parts flour to 2 parts water gives a nice, slightly thick play mud. If you prefer a runnier mud you can use 2 cups of flour as a starting point and add more flour as necessary.
The great thing about play mud is that the recipe is flexible. You can adjust the consistency to make it as thick or as runny as you like by changing up the amount of flour and water you use in the mix:
- To increase the thickness of the mud: add more flour
- To make the mud more runny: add more water
- To change the color of the mud: add more cocoa powder
We increased the thickness of our play mud to create a pumpkin patch for our Halloween sensory bins.
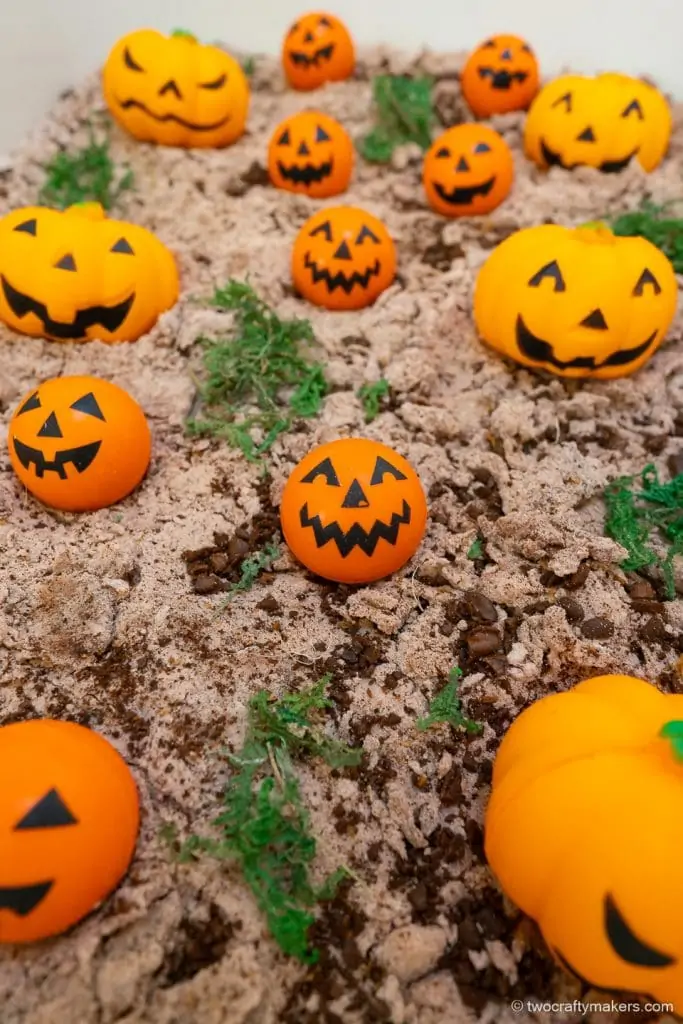
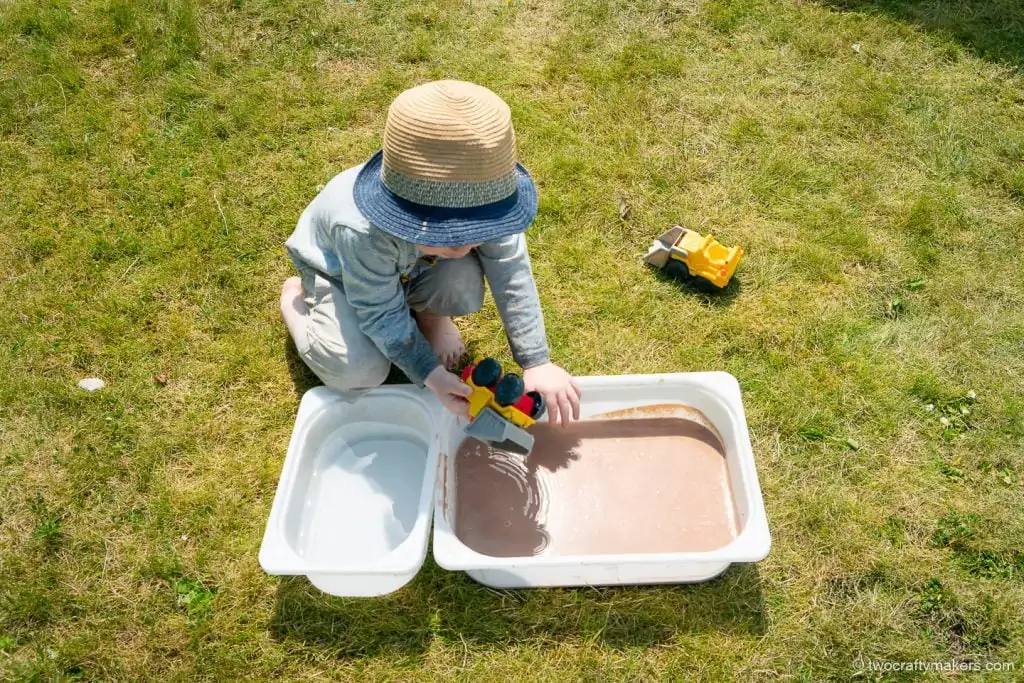
How to make play mud tip: we usually include a wash station sensory bin when using play mud. We like to start with a slightly thicker mud as it tends to thin out when water is transferred into the mud sensory bin during play.
Sensory Play Ideas using Play Mud
Messy sensory play is fantastic for encouraging kids to explore, engage and create. Play mud lends itself perfectly to construction and farm-themed sensory play.
We use the IKEA Flisat table in all our sensory play and it’s fantastic. The Flisat is available in Ikea stores although, at the moment, it can be difficult to find the table in stock. While it is a little more expensive, you can find the Flisat for sale on Amazon. It’s a great option if you can’t make it to a store or it’s out of stock – No products found.
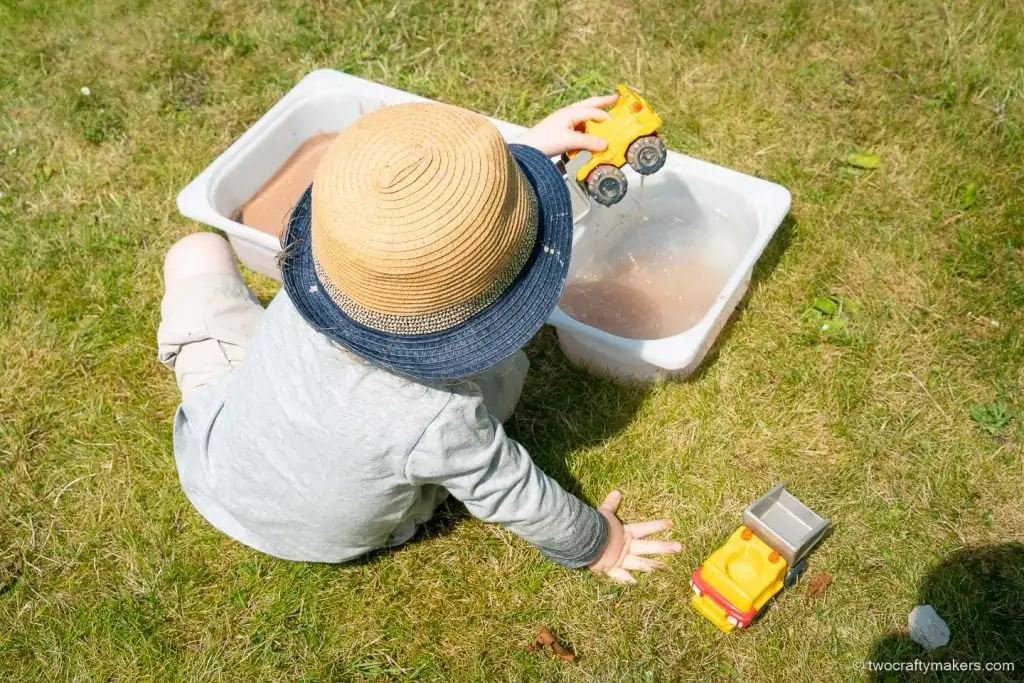
How to make play mud tip: adding a sensory bin filled with water adds a fun new dimension to mud sensory play. We use it as a wash station for rinsing off the muddy animals and construction vehicles. The water gets dumped and refilled so many times during a play session and brings so many giggles!
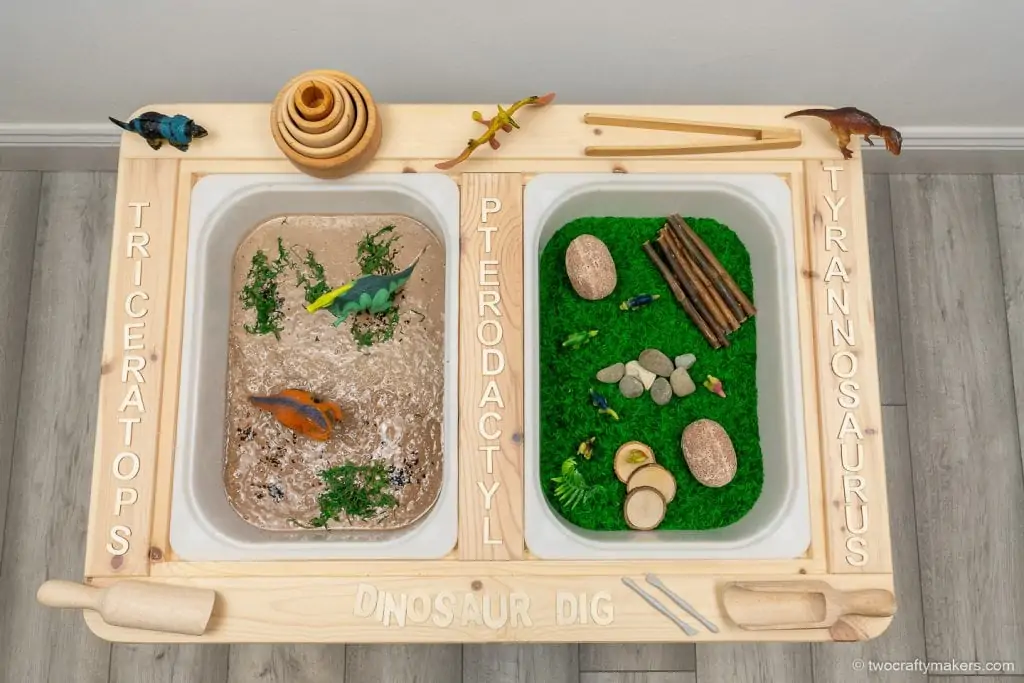
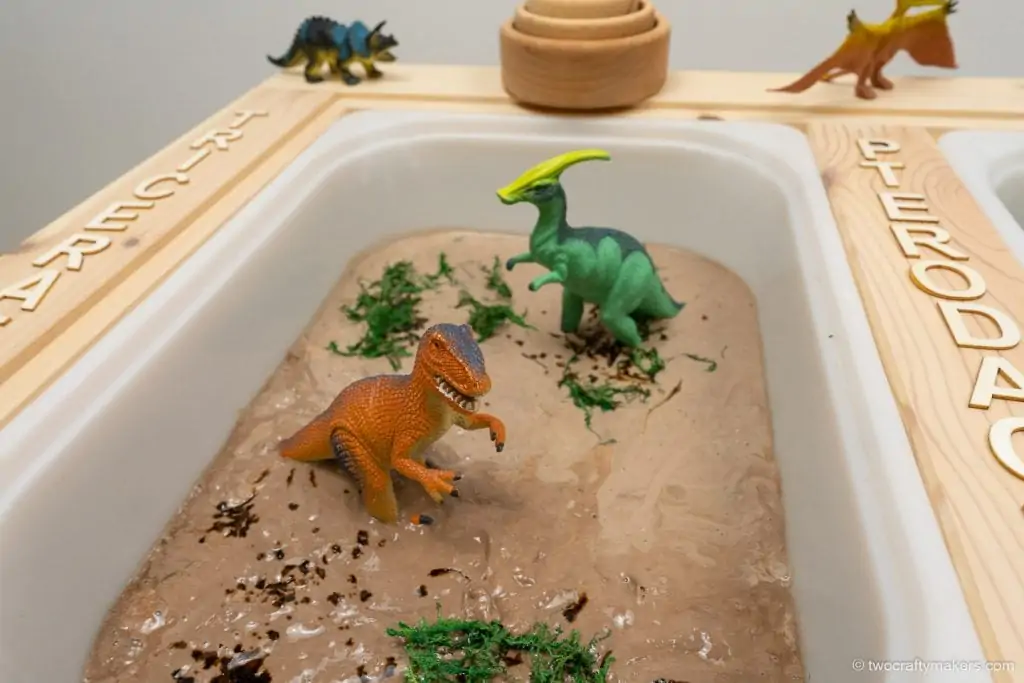
Dinosaur Theme Sensory Bin
Play mud is a great addition to dinosaur sensory bins.
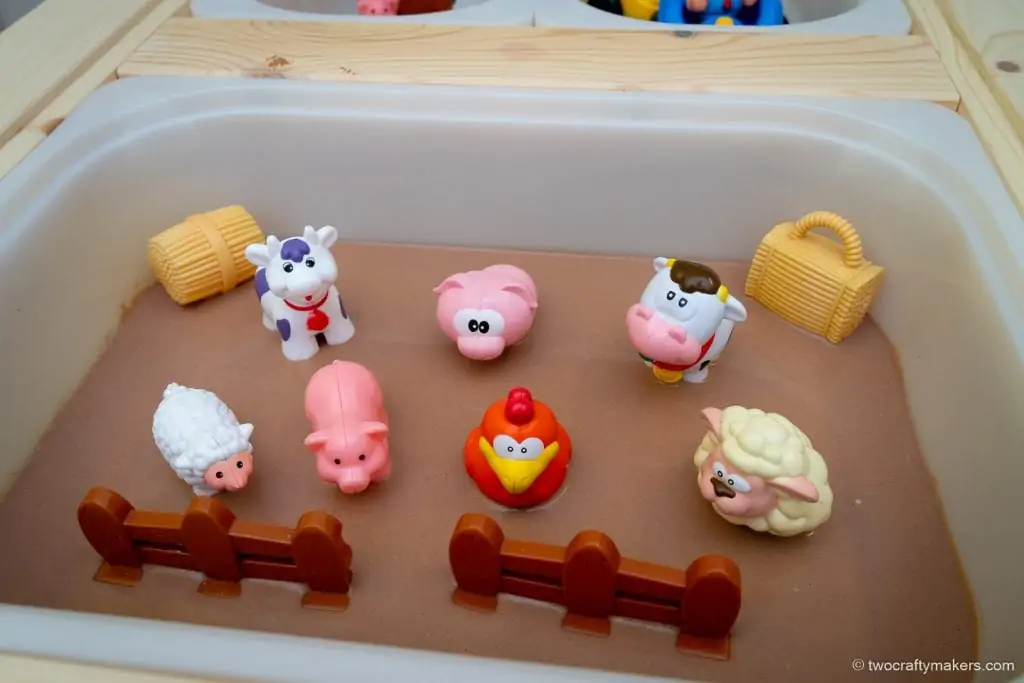
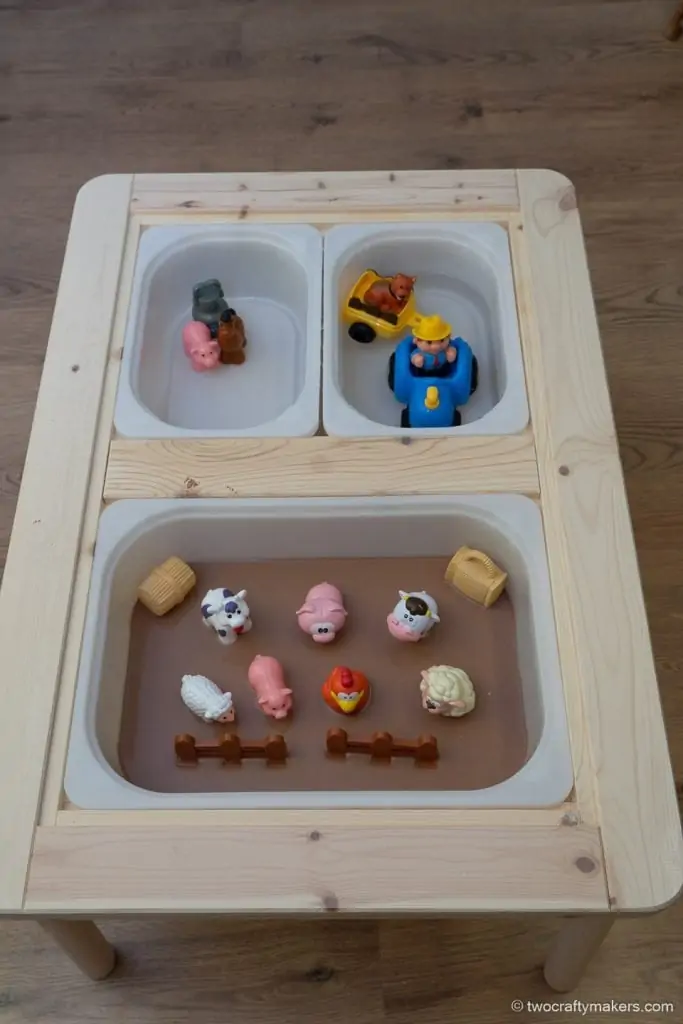
Farm Theme Sensory Table with Play Mud
Farm animals, tractors, and play mud are a huge hit with our toddlers!
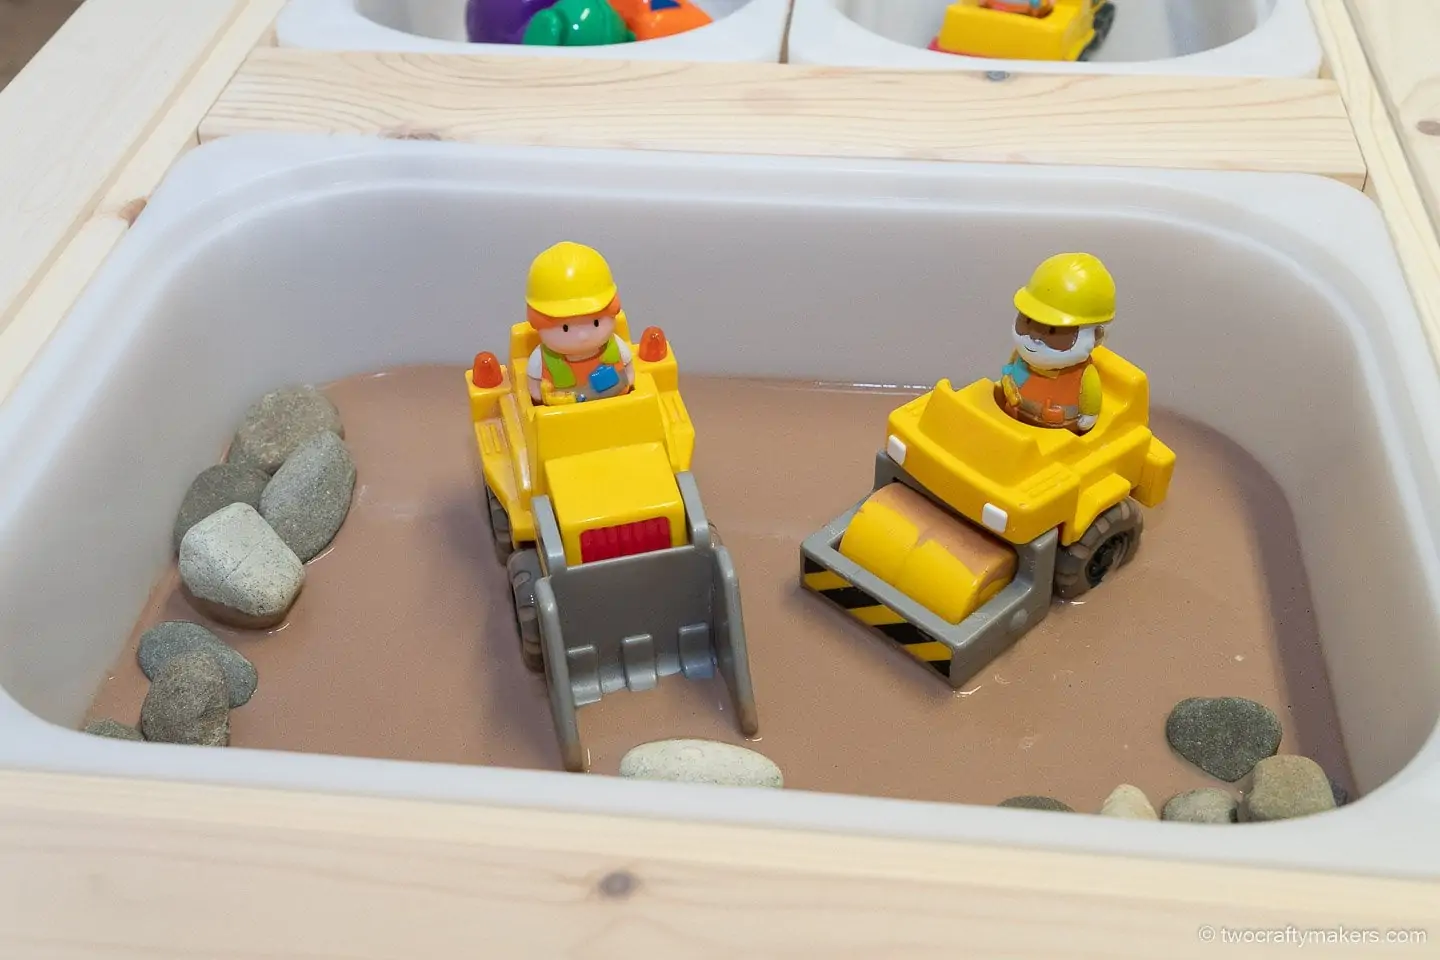
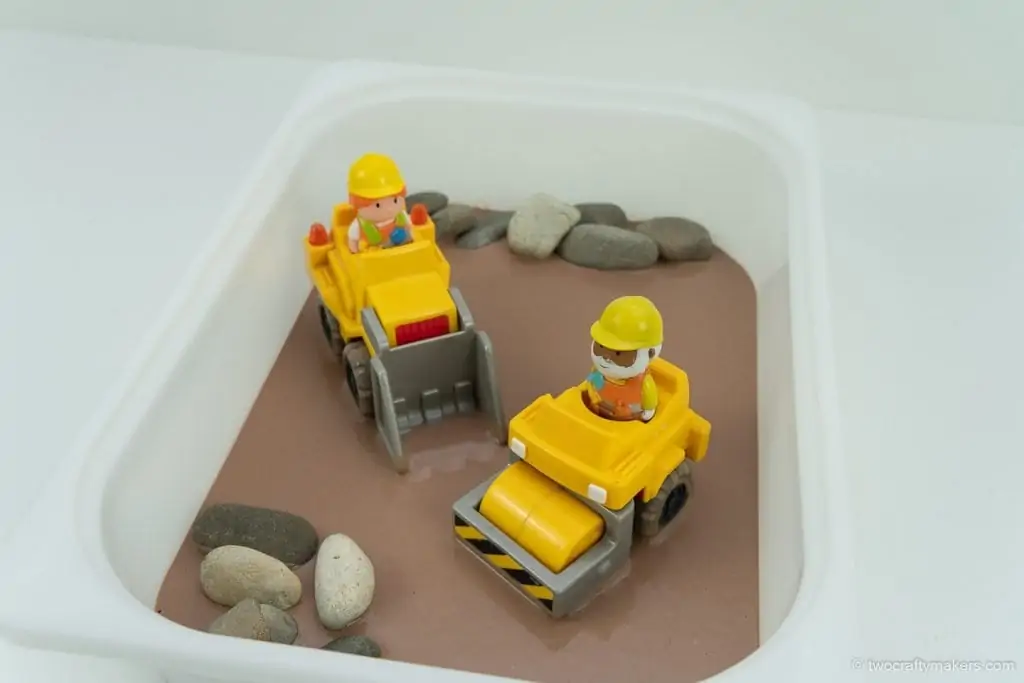
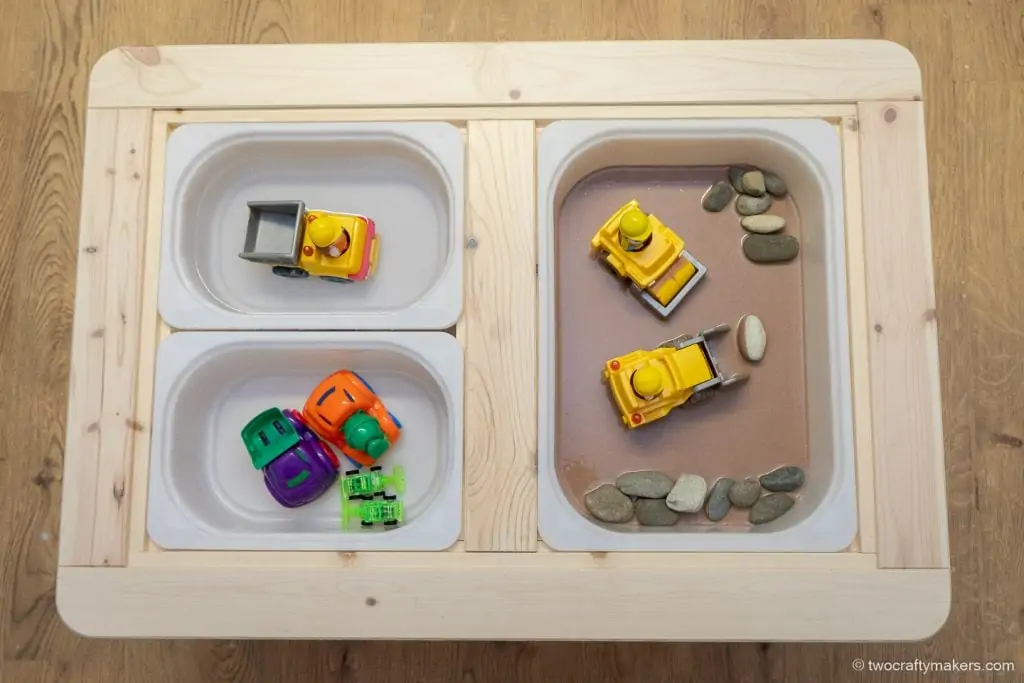
Construction Themed Sensory Table with Play Mud
Construction vehicles also work really well with play mud and pushing the vehicles through the mud adds a really fun element to the sensory play.
How to make play mud tip: we love adding extra sensory play accessories from our garden. Pebbles, grass and flowers make frequent appearances in our sensory play!
Tips for Sensory Play with Play Mud
- Move it to the garden: we often move our sensory play set up to the garden when the weather allows. As well as reducing mess and clean up, it also allows the kids to incorporate materials from the garden into their sensory bins.
- Wear old clothes: sensory play can get messy so we keep some over sized t-shirts for the kids to wear and store them alongside our sensory play materials.
- Set up a sensory play area: if our sensory play is likely to get messy we usually set our Flisat up on a mat or bed sheet. This makes it easy to collect everything that’s spilled over. If you are playing with water then a waterproof mat or shower curtain liner are great for catching overflow.
- Prepare the mud just before play: play mud will harden if you leave uncovered for a longer period like overnight. Since it only takes a few minutes to prepare, we like to mix our mud just before we start our sensory play.
