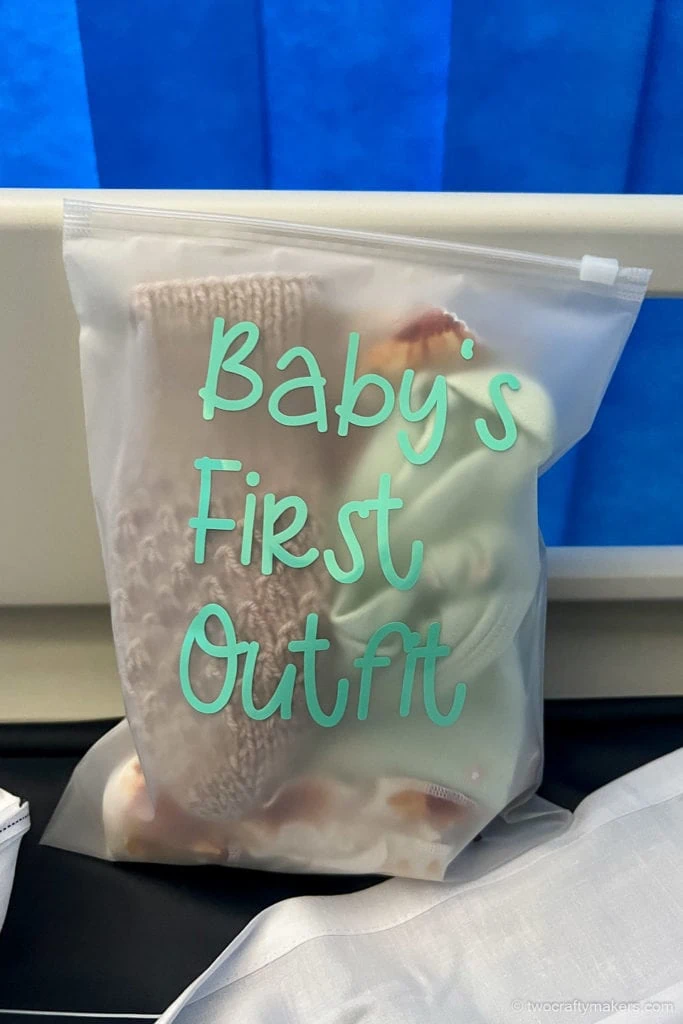
With the due date of our new arrival fast approaching I decided to use my Cricut to make labels for my hospital bag organizers. It was such a lovely project to focus my mind as I prepared my labor bag and, as we entered the delivery suite, my cute little ‘Baby’s First Outfit’ organizer brought me a smile!
I wanted to share my step-by-step guide on how to make vinyl Cricut labels to help organize your hospital labor bag which you can use to make your own Cricut labels!
The Project: Cricut labels for Organizing Hospital Baby Bag
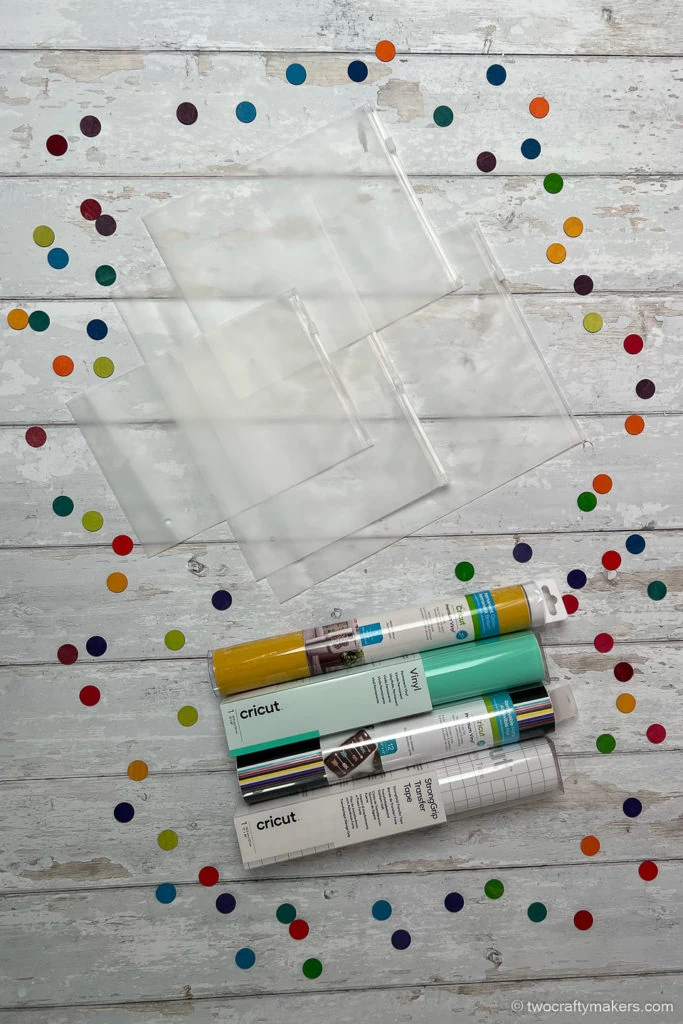
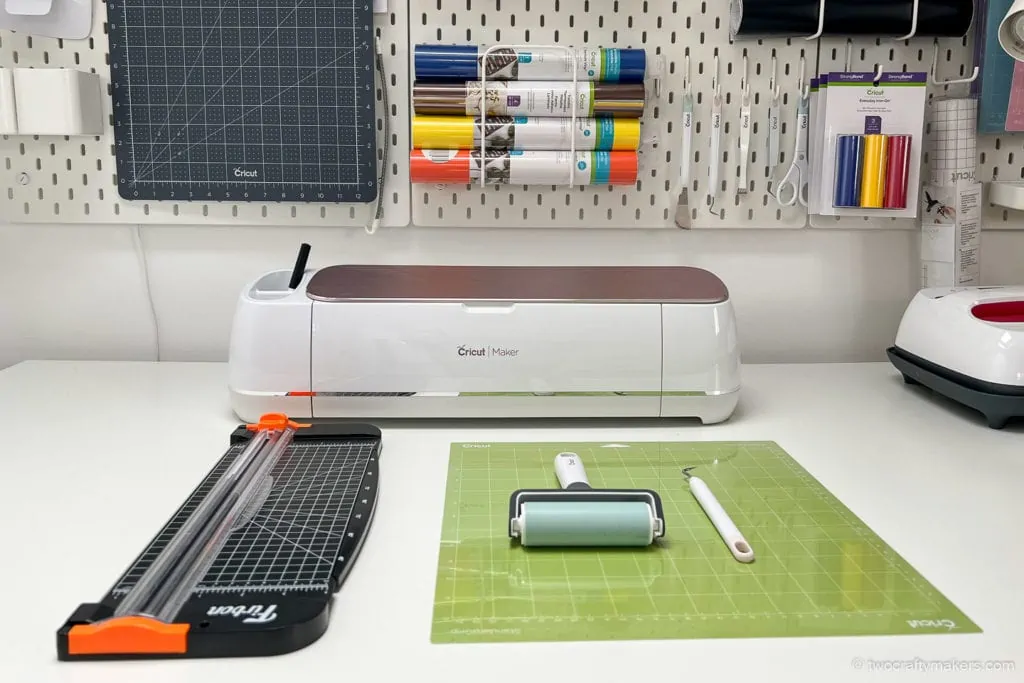
Step 1: Cricut Label Essentials
- Frosted resealable storage bags: I ordered some No products found. to organize my hospital labour bag.
- Mat: a No products found. is ideal for vinyl. A new No products found. also works great.
- Vinyl: both No products found. and No products found. work great for this project. I used a beautiful No products found. and obviously blue and pink work great if you want to stick to the traditional colors!
- Cricut Machine: I use the No products found. for my projects although I’m so tempted to upgrade to the Cricut Maker 3 for future projects!
- Tools: a weeding tool and a scraper from this No products found.
- Transfer tape: No products found. to place the label
- Portable trimmer: I always have a No products found. to hand for Cricut projects
- Ruler or measuring tape: I used a No products found. for this project
Step 2: Choose a Font
I wanted a playful font that was easy to read. You’ll likely find your own favorite fonts but, if you need some inspiration, I used:
- Babette

- Kid Candy

Cricut Labels tip: I download most of my fonts from DaFont. Remember to check the usage rules on each individual font – many are free for personal use but require the purchase of a commercial license for commercial use.
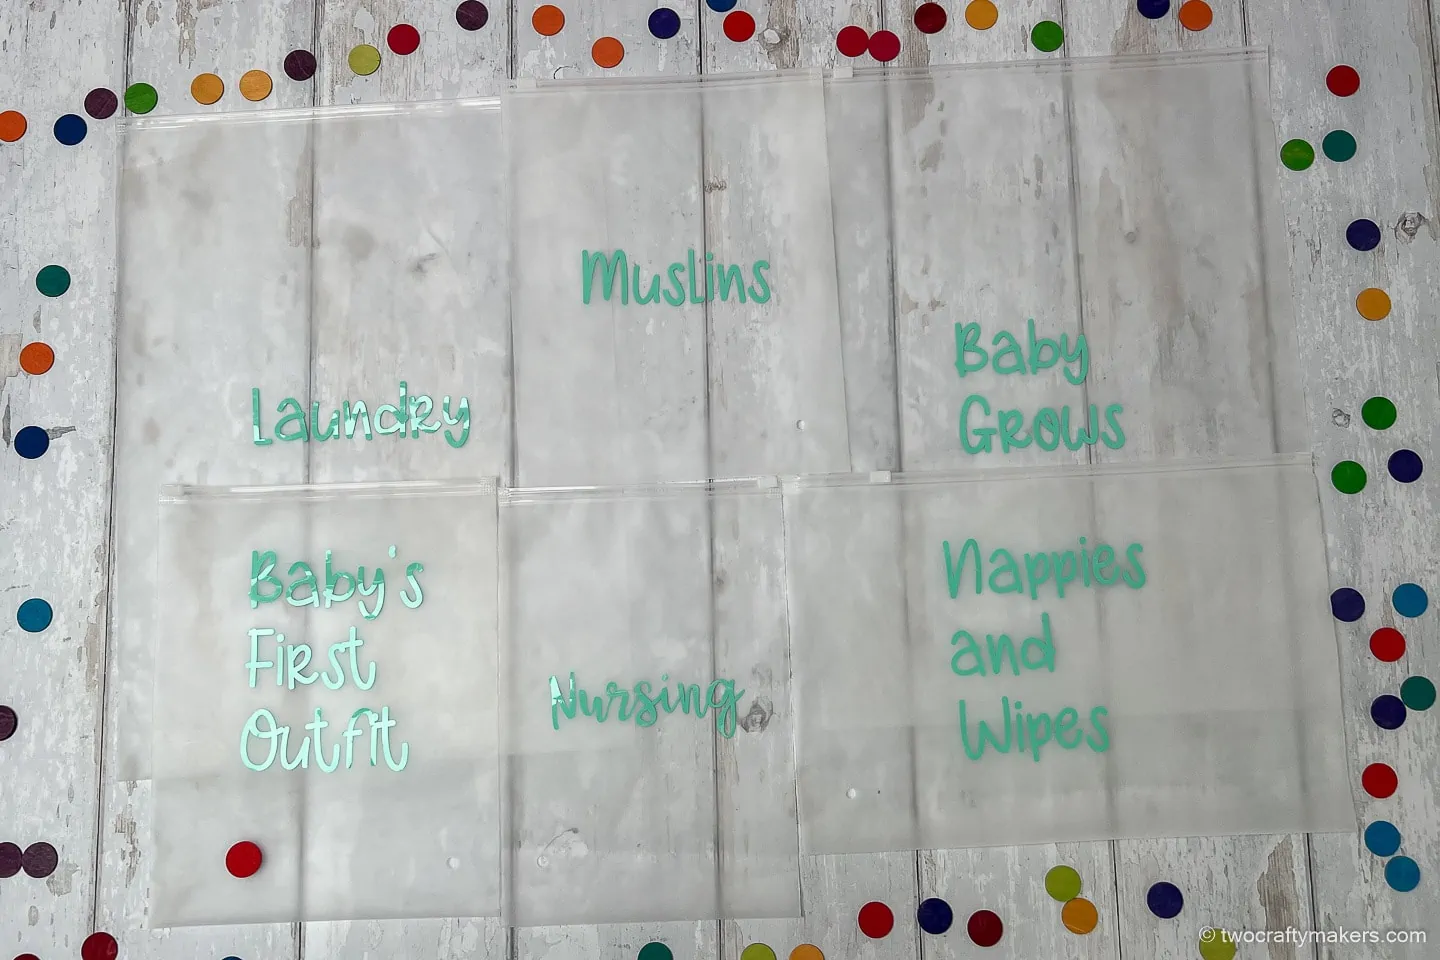
Step 3: Decide on your Labels
I made a list of items I’d need for me:
- nursing essentials
- pajamas
- toiletries
- laundry
- going home outfit
- labor nightshirts
And a list of things I’d need for the baby:
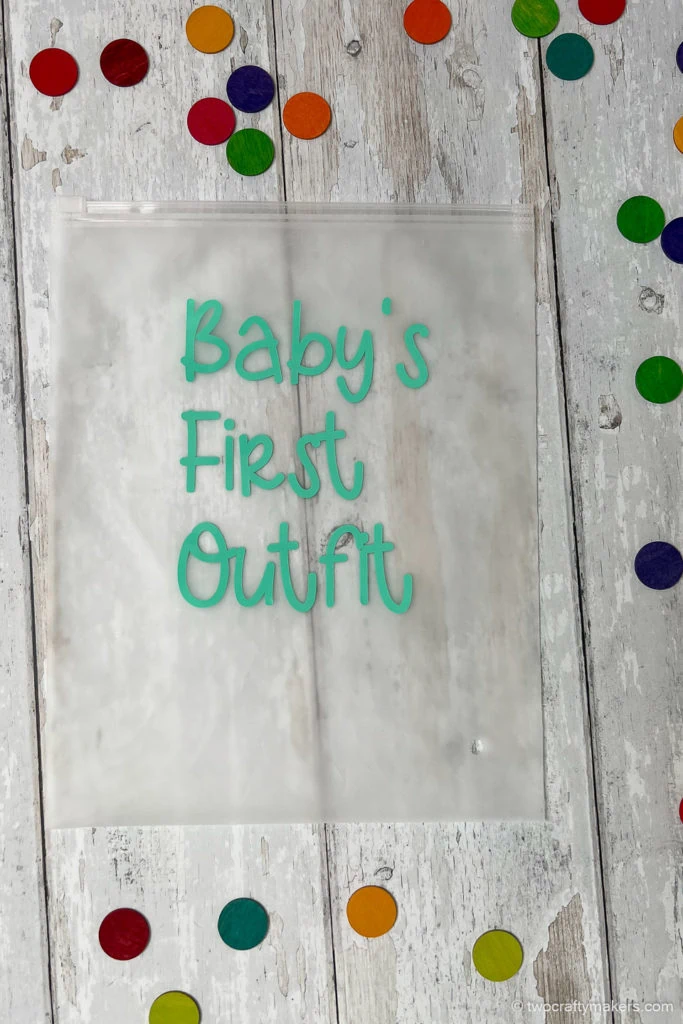
- baby’s first outfit
- diapers/nappies
- wipes
- babygrows
- sleepsuits
- bibs
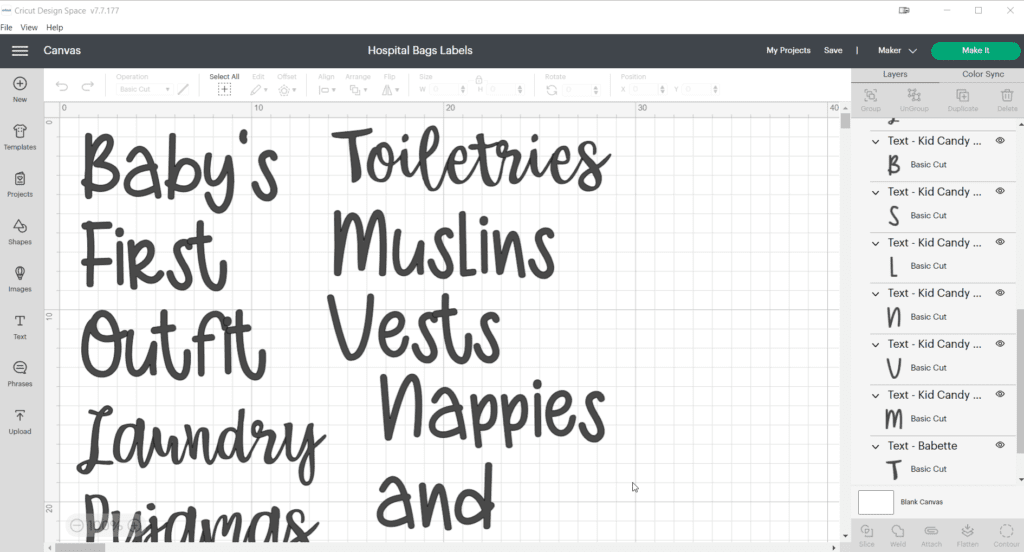
Step 4: Design your Cricut Labels in Design Space
Start a new project in Design Space and save it with a relevant name. I saved mine under ‘Hospital Bag Labels’.
Now for the label design:
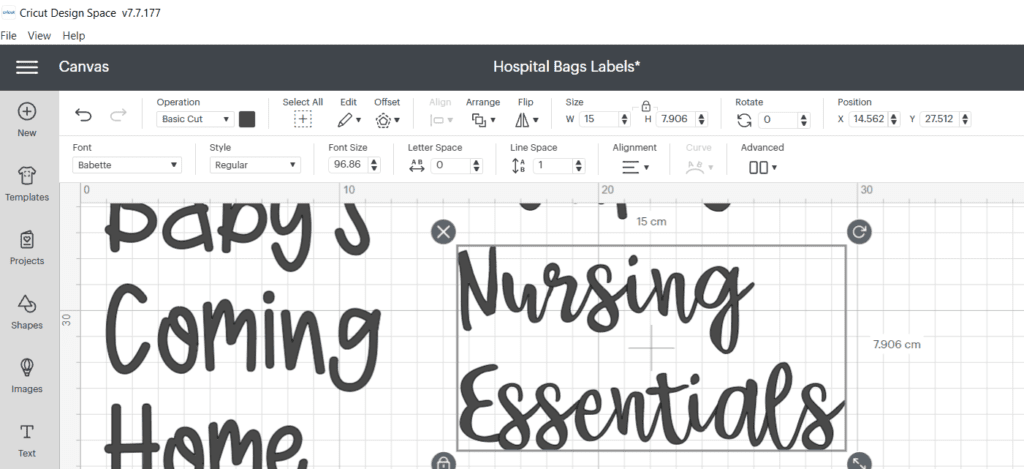
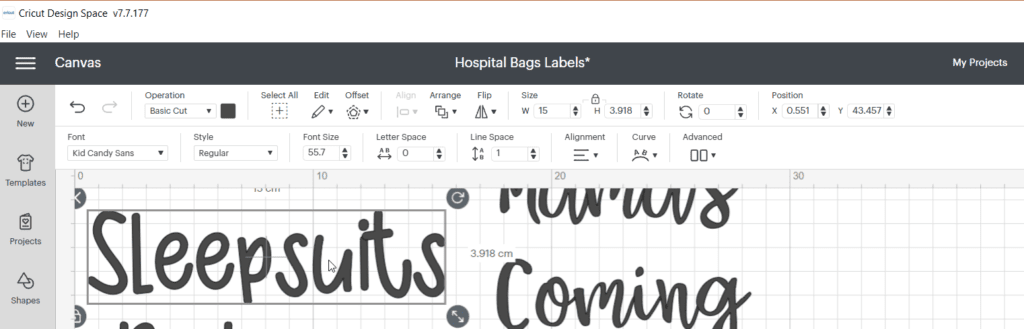
Click on the text icon and select your font: Click on the text icon to start typing and then click on the Font menu and search for the font you want to use. Any fonts you have downloaded will be stored under ‘System Fonts’. For my project, I choose Babette for my mama labels and Kid Candy for the baby labels.
Position the letters: Design Space automatically groups the letters of the word typed in a text box. If you want to move the letters closer together you can reduce the letter space or, if you want to reposition the letters then you will need to ungroup and drag and drop each letter you want to move individually. Remember to group again if you want to make edits, move around the entire word or have the word cut as a single word rather than individual letters.
Font Size: you need to decide on a font size for your project. For these Cricut labels, I opted to cut everything in the same font size. To do this, type in the longest single word or phrase that you want to apply on a single line of a font when you are labeling your item
My reusable bags were between 22cm and 40cm wide so I choose a font size that resulted in my labels being a maximum of 15cm wide so they were well spaced and nicely centered on each bag.
For my Babette font labels, my longest word was ‘Essentials’ (as part of ‘Nursing Essentials’) and a 15cm wide label resulted in a font size of 96.86. I applied this font size to all my Babette font labels.
For my Kid Candy font labels, my longest word was ‘Sleepsuits’ and a 15cm wide label resulted in a font size of 55.7. I applied this font size to all my Kid Candy font labels.
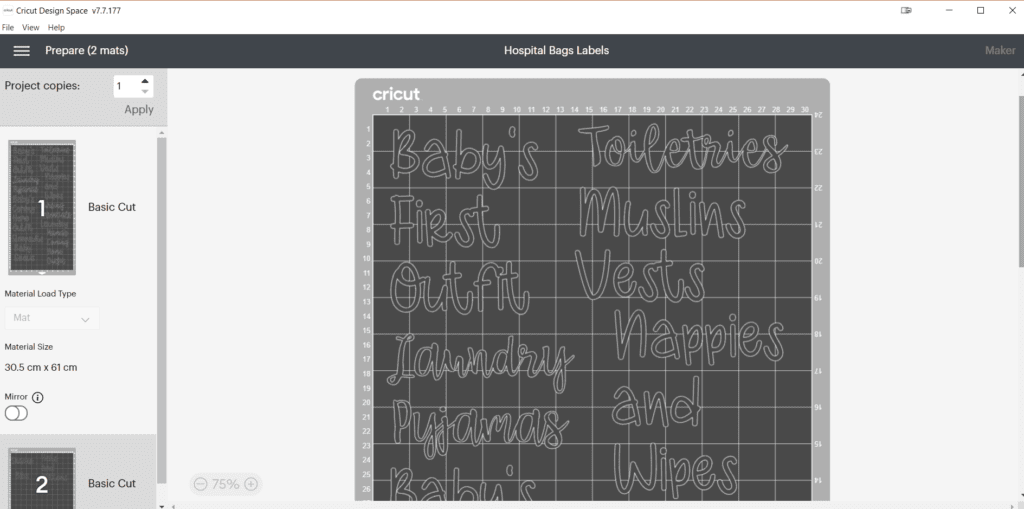
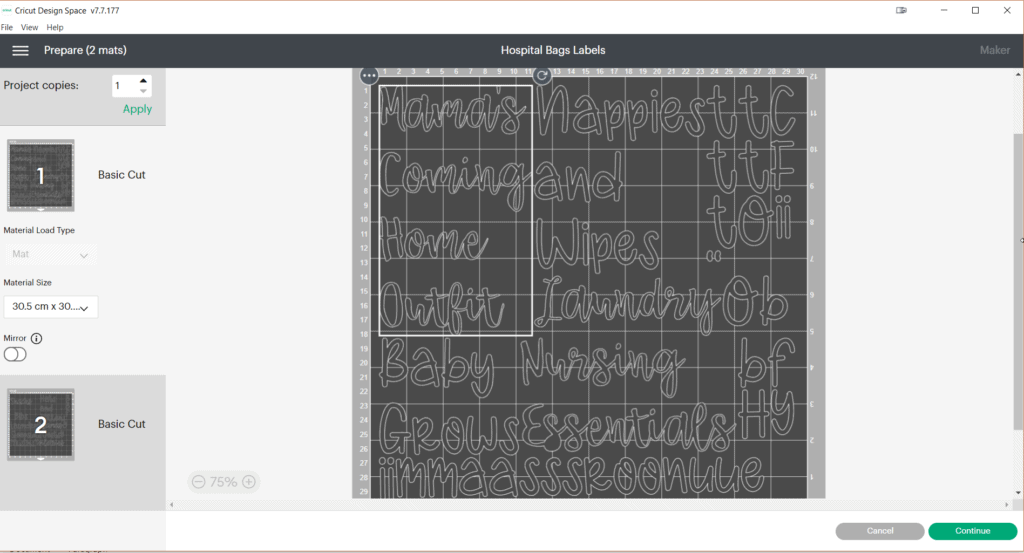
Attach: when you send a design to cut on your Cricut machine the components of the design are reordered so that the minimum amount of vinyl is required. You’ll see it happen when you click the ‘Make it’ button and your design appears jumbled up on the mat preview. This often gives Cricut users a fright when cutting their first project! To avoid this, you will need to make sure your words are grouped and, if you want to print as you see on the screen highlight the entire design and click ‘Attach’ – this holds the cut in the same position that you have set on Design Space.
Cricut Labels tip: For this project, it’s fine to group but skip the attach instruction unless you prefer to have your labels cut in the same position you set in Design Space.
Cutting your Cricut Labels
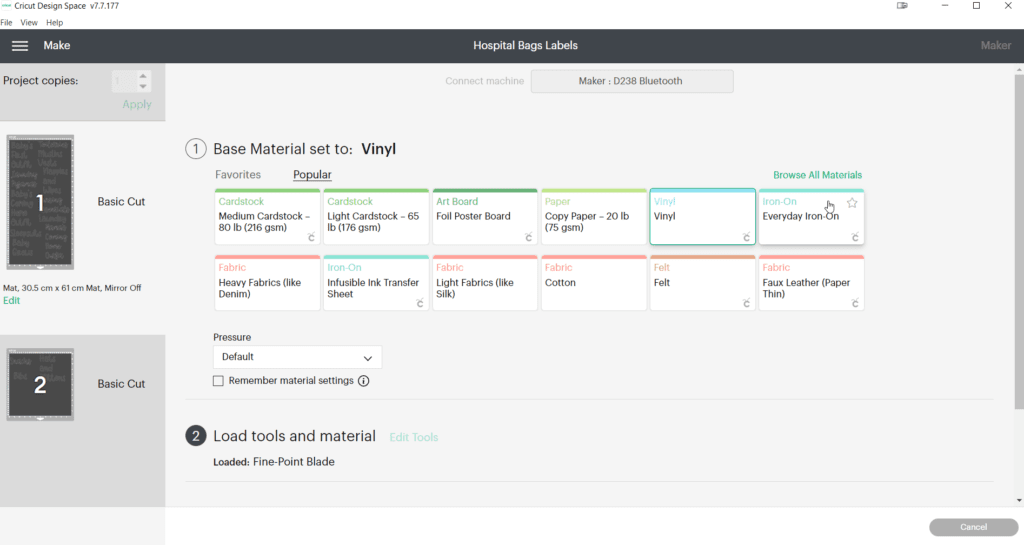
Make it: If you are happy with your design, hit the ‘Make it’ button in Design space. You can set your vinyl size and see a preview of the cut. If everything looks good then continue.
Choose the material: Both permanent and removable vinyl work for this project. Removable vinyl will hold fast to the surface and it can be easily peeled away without leaving a residue. The adhesive is much stronger in permanent vinyl and it cannot be peeled away as easily. It leaves a residue when removed.
I used permanent vinyl for this project as I wanted to reuse the bags for travel and for packing my baby bag.
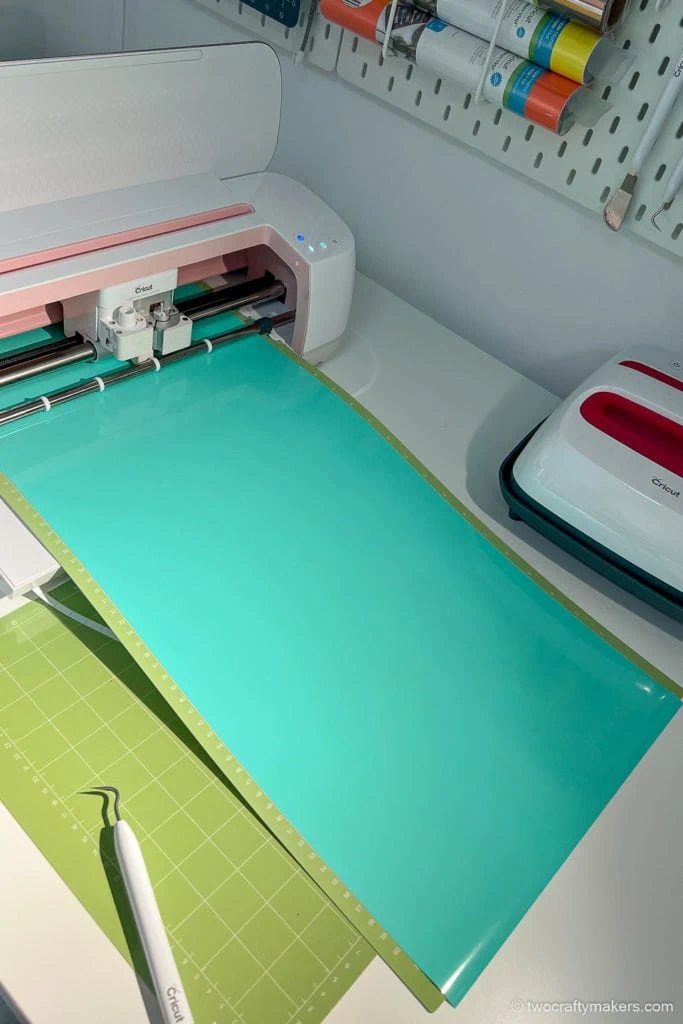
Load tools and material: use your portable trimmer or scissors to cut off a piece of vinyl to fit your project (you can check the length of the vinyl on your Design Space ruler – mine was 60cm in the above example) and place it on a StandardGrip (green colored) mat. Load this into your Cricut ready to cut and check that your blade matches the blade listed in Design Space.
Cricut Labels tip: a LightGrip (blue) mat is recommended for vinyl. I tend to cut vinyl on a blue mat if I am starting a new blue mat. Otherwise, I pick a StandardGrip (green) mat. I used a long mat (60cm) for this project as I was making a series of labels but you can easily split across 30cm mats.
Hit the load/unload button: hit the up/down arrow on your Cricut Maker and then press the Cricut Go button which will be flashing. You can also hit go from Design Space.
Once the cut is finished, hit the up/down arrow on your Cricut and remove the mat.
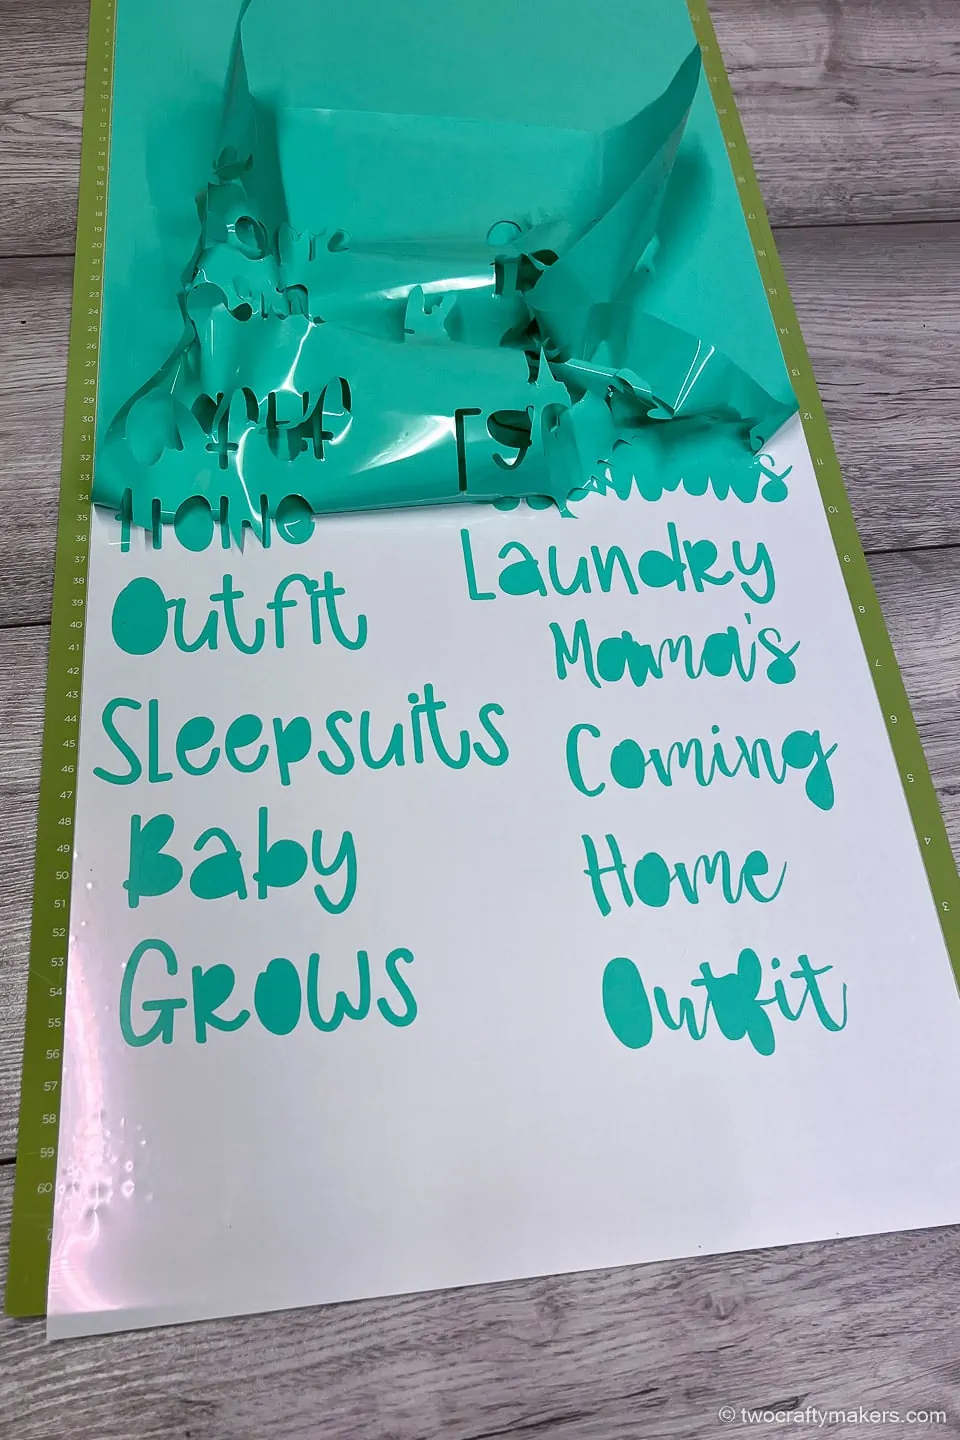
Step 5: Applying your Cricut Labels
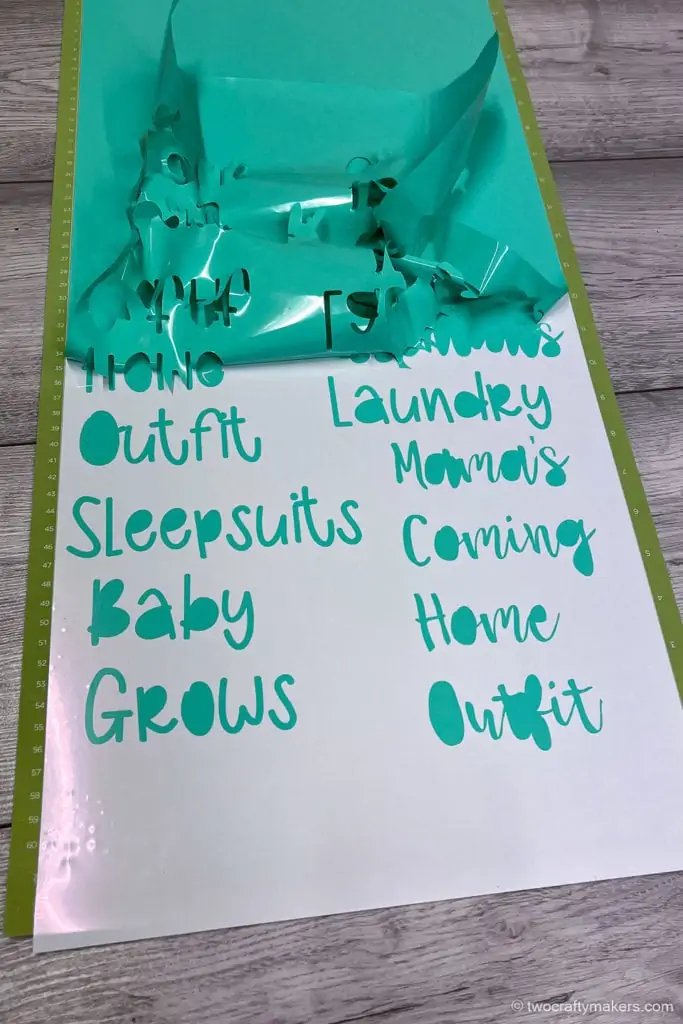
After peeling your vinyl from the mat it’s time to prepare the labels for application.
Weeding: the first step is to weed your text. Use your Cricut weeding tool to remove all the filler vinyl making sure to keep each letter/word intact. This project was quite easy to weed and I was able to do almost all the weeding in the first lift of the vinyl.
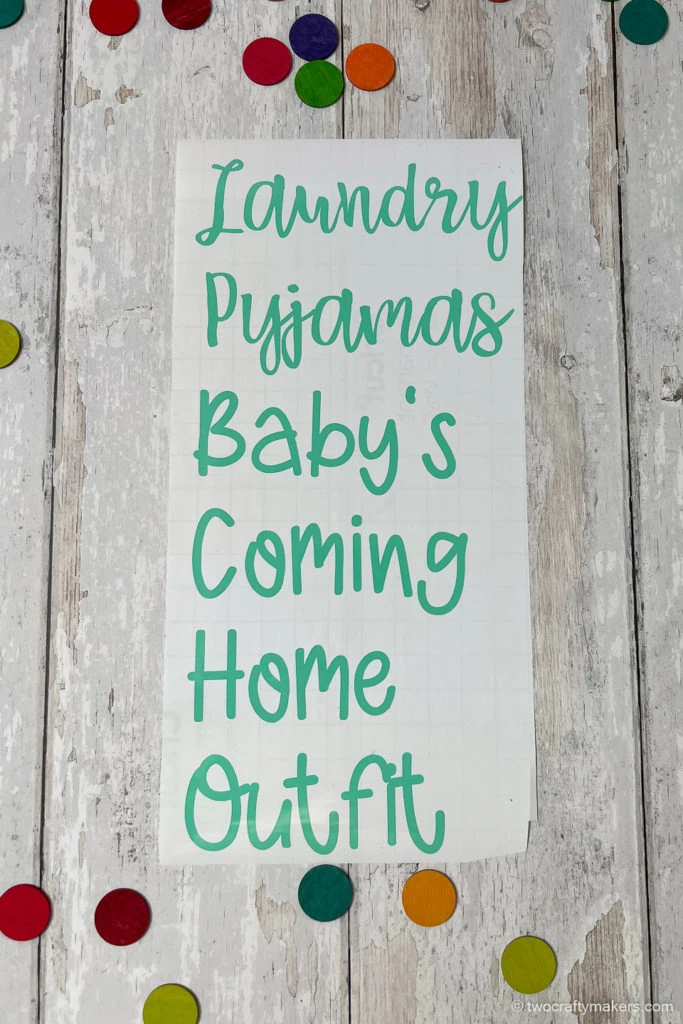
Apply transfer tape: transfer tape is a sticky tape used to transfer and apply the labels. Start by cutting a piece of transfer tape that is big enough to cover the text fully and place it over the text. Rub the scraper tool over the text and slowly peel the transfer tape from the backing paper.
Cricut Labels tip: I rub the scraper tool over the transfer tape a few times to ensure it adheres – focus on applying pressure to the text with the scraper to make it work best.
Apply the labels: place the tape in the desired position on your item to be labeled. I do some checks to ensure it is in the correct position: the checks are dependent on how you want to position your label but they might include:
- The horizontal baseline is straight/parallel to the base of the item being labeled. You might need to use a ruler for this one.
- The label is in center of the item both horizontally and vertically – you can fold the bag horizontally and vertically to identify the center and use this.
After applying the transfer tape, rub your scraper back and forth over the text to help it adhere to the item being labeled.
Finally, peel the transfer tape away to leave the label text on your item.
Repeat the process until all the items are labeled and then pack your hospital bag for the big day!